Do It Yourself Golf Simulator vs Commercial Setup: Which Is Right for You?
If you are opening or expanding an indoor golf venue, you will usually come across two main routes for building out your bays.
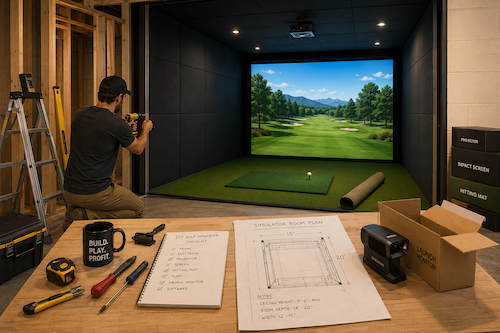
One is the DIY approach, where you source each component yourself. You pick the launch monitor, the enclosure, the impact screen, and the software, then assemble and calibrate everything on your own. Done well, it can lower your cost per bay and give you full control over the build.
The other is a commercial system, a ready-made, professionally designed and installed package. It runs higher upfront, but delivers stronger accuracy, more consistent performance across bays, and vendor support when something breaks during business hours.
Years ago, this was barely a debate, because self-built rigs could not come close to commercial accuracy. Today the gap has narrowed enough that the decision deserves a real look at all the details. This guide breaks down both options for commercial operators so you can decide what makes sense for your budget, your simulator space, and your business model. If you are still earlier in the planning process, start with our guide on how to start a profitable golf simulator business and come back to this decision once your concept is clear.
What Is a DIY Golf Simulator Build?
A DIY golf simulator is the self-sourced version of a bay. Building one requires seven essential components: a launch monitor, an impact screen or net, a projector or display, a computer to run the software, the software itself, a hitting mat, and an enclosure or frame to hold it all together. If you use a projector, you need a proper impact screen, sometimes called a hitting screen, rather than just any display. A heavy-duty hitting screen or safety net is a core safety piece in any DIY golf build, since impact screens prevent golf balls from bouncing back aggressively toward the player.
DIY builds can vary widely in complexity and total cost, from a budget build with a net and an entry-level launch monitor to a multi-bay buildout using commercial-grade parts. Operators usually consider this route to trim startup costs, to reuse an existing space, or because they have the technical skill in-house to manage the build. It can work for a single-bay coaching studio or a lean first location. The tradeoff is that you become the integrator: compatibility, calibration, and troubleshooting are all on you.
What Is a Commercial Golf Setup?
A commercial setup is the turnkey version of indoor golf. Everything arrives pre-built and professionally integrated: an integrated tracking system, a high-end enclosure rated for continuous public use, professional-grade software, and installation with calibration so every shot is tracked accurately from day one.
Commercial packages also include support and maintenance agreements. When a bay goes down on a Saturday afternoon, that difference stops being abstract. A vendor on the phone within the hour is the difference between one lost session and a lost weekend of bookings.
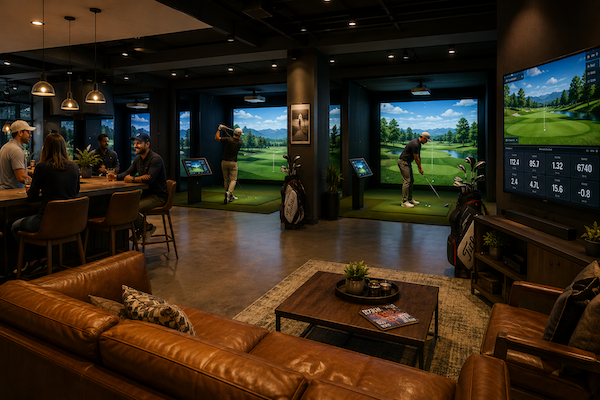
You will find these systems in golf clubs, entertainment venues, coaching studios, and multi-sport facilities that combine golf bays with attractions like batting cages under one roof. For a full walkthrough of planning a venue-grade build, including bay layout and customer flow, see our indoor golf simulator setup guide for modern venues.
Cost Comparison: DIY vs Commercial
For an operator, the real question is total cost per bay, and the gap between the two routes is significant.
A home-grade DIY golf simulator usually costs between $3,000 and $5,000 all in, and a budget golf simulator can start even lower if you use a net instead of a screen, since a net is a more cost-effective practice setup than a full enclosure. Launch monitors range from roughly $500 to $10,000, with entry models like the Garmin R10 around $599, though most commercial builds should plan for mid-range units or better. An enclosure and screen package from Carl's Place runs around $3,400, hitting mats range from $100 to $1,000, and software licensing can run around $995, with commercial licenses often priced higher than home versions. A venue-grade build using better components lands well above the home range.
Commercial systems come installed and calibrated, at a higher price. Entry-level turnkey packages like Foresight's SIM IN A BOX start around $9,999 and run up to about $30,995, while premium options like Full Swing can reach around $50,000 per bay.
| Build Type | Real Price Examples | What You Get |
|---|---|---|
| DIY | ~$3,000 to $5,000 (home-grade), ~$3,400 enclosure from Carl's Place plus $4,999 to $5,999 launch monitor for venue-grade builds | Lower price per bay, full component control, more effort and risk |
| Commercial | ~$9,999 to $30,995 (turnkey packages), up to ~$50,000 (premium builds) | Installed and calibrated system, vendor support, faster time to revenue |
The honest math for a venue: DIY looks cheaper per bay at first glance, but every hour a self-built bay sits uncalibrated or offline is unsold inventory. Commercial systems often pay back the difference in uptime and time to opening. For the complete picture of venue startup costs beyond the bays, including buildout, staffing, and software, see our full breakdown of how much a golf simulator costs in 2026.
Performance and Accuracy: The Role of the Launch Monitor
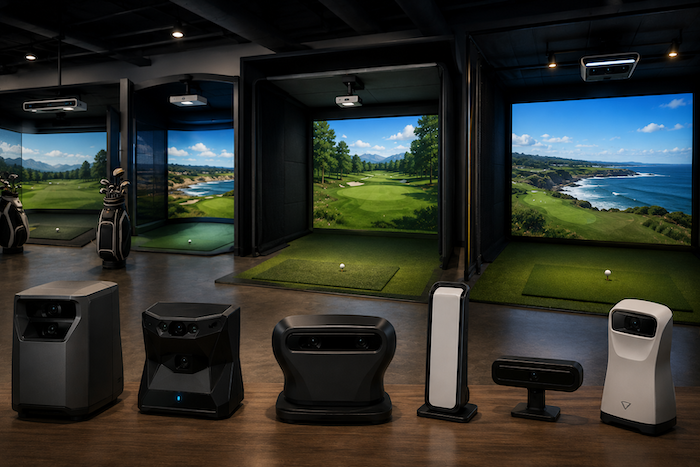
This is where the debate matters most for a paying customer. A launch monitor is the brain of your bay, tracking ball flight and returning ball data to the computer. Following setup instructions is critical for the proper function of launch monitors, and placement rules are strict: radar-based launch monitors need at least 8 feet of ball flight to read a shot accurately, which is why photometric units are generally a better fit for enclosed bays. Camera-based options like the Uneekor Eye XO and the Bushnell Launch Pro deliver high accuracy along with detailed club data, reading ball speed, launch angle, and spin on everything from wedges to driver, no matter whose clubs are in the bay, while budget units often stick to distance basics.
Software matters too. Platforms range from GSPro software, a favorite among DIY builders for realistic course play, to the premium packages bundled with commercial systems, and the software determines how good playing golf on the system actually feels. Golfers do not just want numbers on a screen; they want to play simulator golf on courses that look and behave like the real thing, using their own equipment.
For a venue, accuracy is a retention issue. Golfers who suspect the data is wrong do not rebook, and instructors will not run lessons on equipment they do not trust. A golf simulator impacts practice quality significantly, and serious players can tell the difference between a bay that reads every golf ball correctly and one that guesses. If you are still choosing hardware, our guide to the best golf simulator for business owners compares the leading systems by venue model.
The Software Side of Running the Business
Hardware is only half the build. Once your bays are running, the operational load shifts to managing reservations, memberships, leagues, lessons, and peak-time scheduling, and that complexity grows faster than most new operators expect. Manual scheduling becomes a major pain long before most owners expect it to.
That is where dedicated golf simulator booking software comes in. SportsCarnival is built specifically for commercial venues, handling online bookings, payments, waivers, memberships, and league and tournament management from a single platform. This matters equally for single-concept golf venues and multi-sport facilities that pair golf bays with batting cages or other attractions.
In practice, the management platform has as much impact on a venue's profitability as the hardware. Bays generate revenue only when they are booked, and booking software is what keeps them full.
Setup Difficulty and Installation
A DIY build takes time, planning, and patience, and for a venue that translates directly into a later opening date. Measuring the space before building ensures adequate clearance for swings, so measure the room first, including ceiling height, then source components. Many builders frame enclosures from 1-inch EMT conduit, using pre-cut or custom pipes from a hardware store, and enclosures can be simple or complex based on needs; they are even optional depending on where the bay sits and how high the ceiling runs. Enclosure depth is commonly planned in the 2 to 5 foot range, and the total length of the bay has to leave adequate space behind the impact screen so the screen can flex during impacts without touching the back wall.
The impact screen should be sized about 1/8" to 1/4" larger than the frame, and elastic bungees or zip ties attach impact screens to their frames while reducing bounce-back. Curtain tracks with side curtains are a common lower-priced alternative to a rigid frame, and safety netting is essential to protect walls from stray balls in any open layout. A good hitting strip is essential even in a budget simulator bay, the hitting area should sit flush with the surrounding turf, and commercial hitting mats matter more than most builders expect, since high-quality hitting mats help prevent injuries when customers hit hundreds of shots a day.
Those techniques work, but a commercial venue has considerations a home build does not: enclosures must withstand continuous public use, self-built frames can raise questions with insurers and inspectors, and a multi-bay facility needs every screen, hitting mat, and monitor calibrated identically so customers get the same experience in bay 1 and bay 6. Even climate control matters, since many operators add a mini split per bay zone to keep conditions consistent under high ceilings.
A commercial system is installed by professionals, calibrated properly, and revenue-ready much faster. DIY gives you control; commercial gives you a predictable opening date.
What Home Builds Teach Operators (and What Does Not Translate)
Most DIY knowledge online comes from the home golf world: YouTube videos of garage builds, forum threads about garage ceiling clearance, and home theater crossover builds where the projector also handles movies and gaming on the same projector screen. There are real lessons in that material. Home builders figured out years ago that lighting conditions affect the quality of projected images, that natural light washes out even a high quality screen, and that a garage door lets in exactly the glare you do not want behind a hitting area.
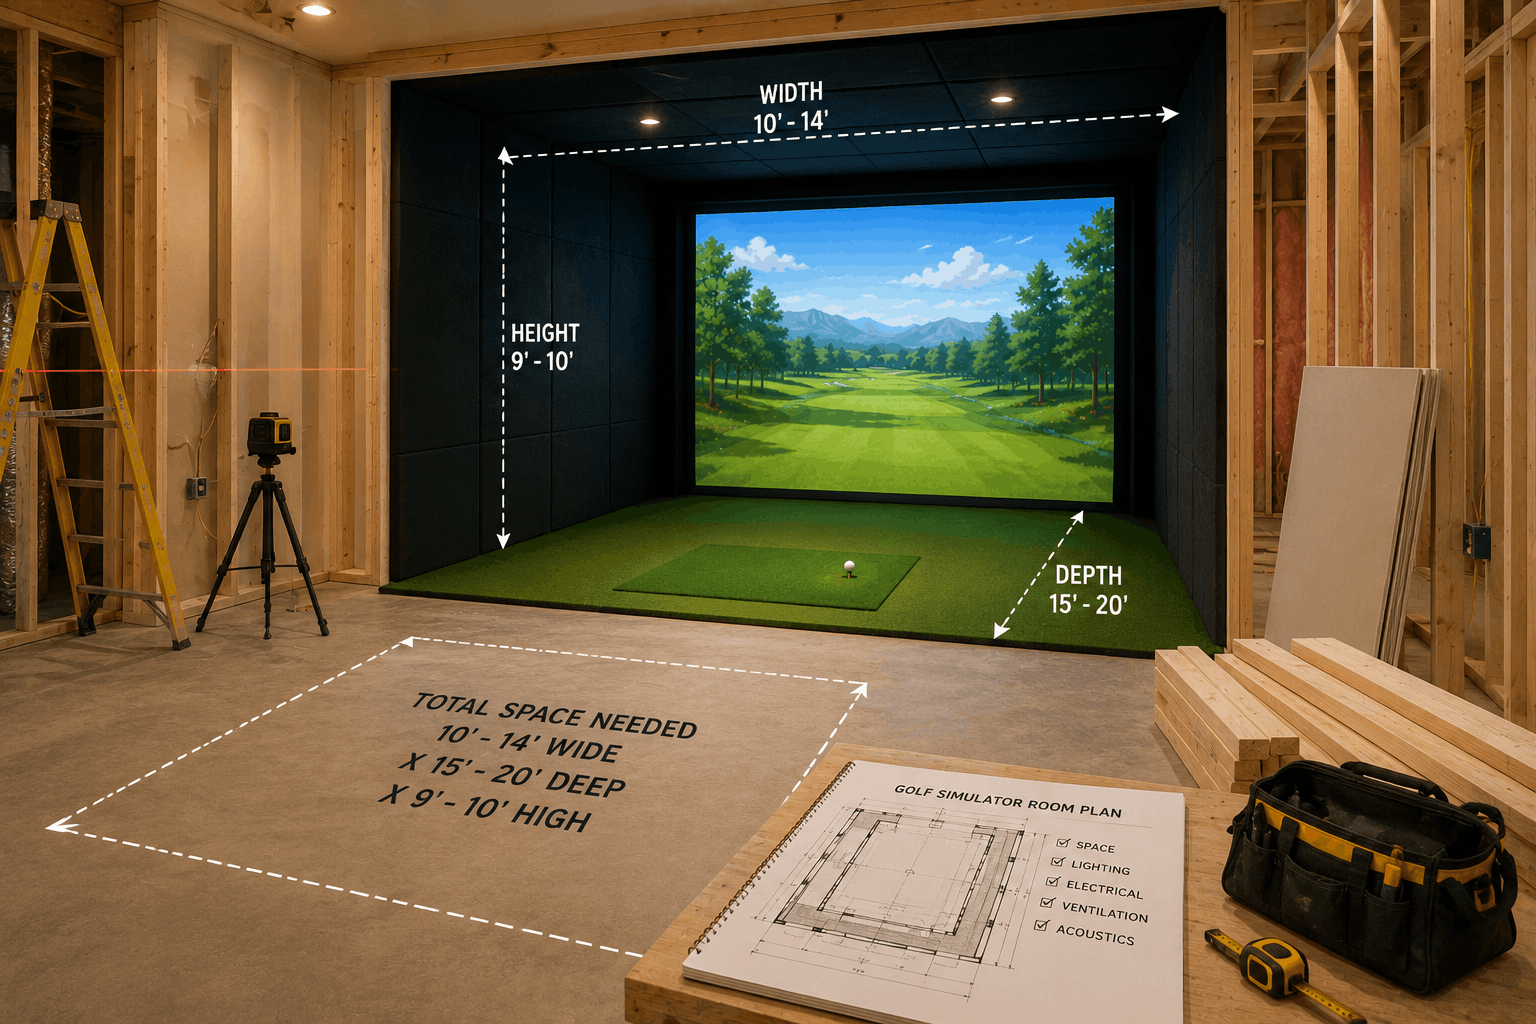
But plenty of it does not translate. A typical home golf simulator requires a minimum space of about 10 feet wide and 10 feet high, which works in a garage or spare room for one golfer swinging a driver on weekends, while venue bays need more room in every direction, with higher ceilings and wider bays; our golf simulator space requirements guide covers ceiling height, clearances, and multi-bay layouts in detail, so use that as your planning reference. Budget-friendly hitting mats made from cheap turf are a fine garage shortcut, but commercial traffic destroys them within months. A gaming PC that runs one bay of home golf sessions is not the same as a dedicated computer per bay running all day; plan for a capable computer in every bay and check computer specs against your software, because underpowered computers are where most self-built venues stumble. Years ago that mistake was rare because the software was lighter, but modern course graphics punish weak hardware. And a garage build tuned for one owner is simply not engineered for the volume a full lineup of paying golfers produces, hitting balls bay after bay from open to close with their own golf clubs.
The pattern: borrow the build ideas, skip the home-grade components.
Customization and Flexibility
The biggest genuine advantage of a DIY build is customization. You choose every part, upgrade individual components as revenue allows, and switch software if your needs change. A lean operator can open with mid-range launch monitors and upgrade bay by bay as cash flow builds. It is also easier to shape the customer experience: many venues let members store their own golf clubs on site, add putting turf between bays or build a short course challenge area, ideas that turnkey packages rarely include.
There are practical details that improve the result too: setting the hitting area over interlocking foam tiles as a protective sub-floor with turf on top, keeping the hitting strip flush with the turf, and adding acoustic panels or EVA foam tiles where a frame sits near a shared wall. A 16:9 aspect ratio is ideal for an immersive picture, and screen size drives the rest of the bay geometry along with the ceiling, so lock in the aspect ratio before you frame anything.
Commercial systems are less flexible because they arrive as a complete package. That is a limitation if you like to iterate, and a benefit if you want six bays that behave identically without integration work.
Maintenance and Technical Support
With a DIY build, maintenance is your responsibility. Troubleshooting, software updates, recalibration, and hardware replacement all fall to you or your staff. Projector lifespan is a real budget line: laser projectors typically last about 20,000 hours, while lamp projectors often last only 1,500 to 2,000 hours, which a busy venue can burn through quickly. Screens and mats wear too, since thousands of golf balls hit the same hitting screen every month, and a worn screen shows every seam on the projected image while a flattened mat changes how every shot comes off the turf, so keep spare mats on hand.
For a home user, downtime is an inconvenience. For a venue, a dark bay is refunds, rebookings, and lost revenue every hour it sits offline. Commercial systems include vendor support, warranty coverage, and often on-site servicing, which is why most multi-bay operators end up valuing the support contract as much as the hardware itself.
Which One Should You Choose?
Choose DIY if: you are opening a single-bay or two-bay location on tight capital, you have genuine technical skill in-house, and you can absorb a longer build timeline and occasional downtime while you learn the system. It suits coaching studios and lean first locations where control over every component matters more than speed to open. Done carefully, a great build with venue-grade parts can hold its own.
Choose commercial if: you are building a multi-bay venue, your revenue model depends on consistent uptime, or your customers include serious golfers and instructors who expect tour-grade data on every swing of their clubs. Turnkey packages also handle details like projector placement for you, typically mounting a short-throw projector 6 to 8 feet in front of the screen to minimize shadows over the hitting area, ceiling-mounted, with at least 3,000 lumens for good image quality and premium projectors like the BenQ LK936ST offering 5,100 lumens at 4K.
Conclusion
The simple truth for operators: a DIY build saves capital and gives you full control over every component, at the price of your time, a slower opening, and full responsibility when something breaks. A commercial system runs higher per bay but delivers accuracy, consistency, and support that a business can build a reputation on.
Most single-bay startups can justify DIY. Most multi-bay venues cannot. Either way, the bays are only half the business.
Whichever route you choose, SportsCarnival handles the other half: bookings, waivers, memberships, leagues, and payments in one platform built for commercial venues. Request a demo to see how it simplifies day-to-day operations, or review pricing plans to see what fits your venue.
FAQs
Q1. Is a DIY build worth it for a business? Yes, for single-bay or low-capital launches where the operator has the technical skill to handle installation, calibration, and troubleshooting. Multi-bay venues usually recover the higher price of commercial systems through uptime and consistency.
Q2. How much does a DIY golf simulator cost? A home-grade build usually costs between $3,000 and $5,000, while a venue-grade bay with commercial components runs higher. The launch monitor, screen, hitting mat, computer, and software drive most of the total cost. See our golf simulator budgeting breakdown for full venue numbers.
Q3. What is the difference between commercial and DIY simulators? DIY simulators are assembled from seven essential components sourced by the operator, while commercial systems arrive fully integrated and professionally installed, with calibration, warranty, and vendor support included.
Q4. Can a DIY build be as accurate as a commercial one? It can get close with high-quality equipment, since camera-based units like the Uneekor Eye XO and Bushnell Launch Pro read spin, ball flight, and club data with high accuracy. Commercial packages still provide better consistency across bays because they pair that hardware with professional installation, and for golfers paying to play simulator golf, that consistency is what keeps them rebooking.
Q5. How much space does each bay need? A home golf simulator can work in a space around 10 feet wide and 10 feet high under a garage ceiling, but venue bays should plan for roughly 11 feet of width, 9.5 feet of ceiling height, and 16 feet of depth. Our space requirements guide covers ceilings, clearances, and multi-bay layouts in detail.
Q6. Can I upgrade a DIY build later? Yes. Flexibility is the main advantage of the DIY route, and many operators open with mid-range launch monitors or projectors and upgrade individual bays as revenue grows. Some started as home golf builders themselves years ago and scaled the same idea into a full floor of bays, and that upgrade path is part of what makes the idea attractive.
Continue Reading
Articles you might be interested in